API-Keys
Adding a new API-Key
- Click Create button in the upper-right corner
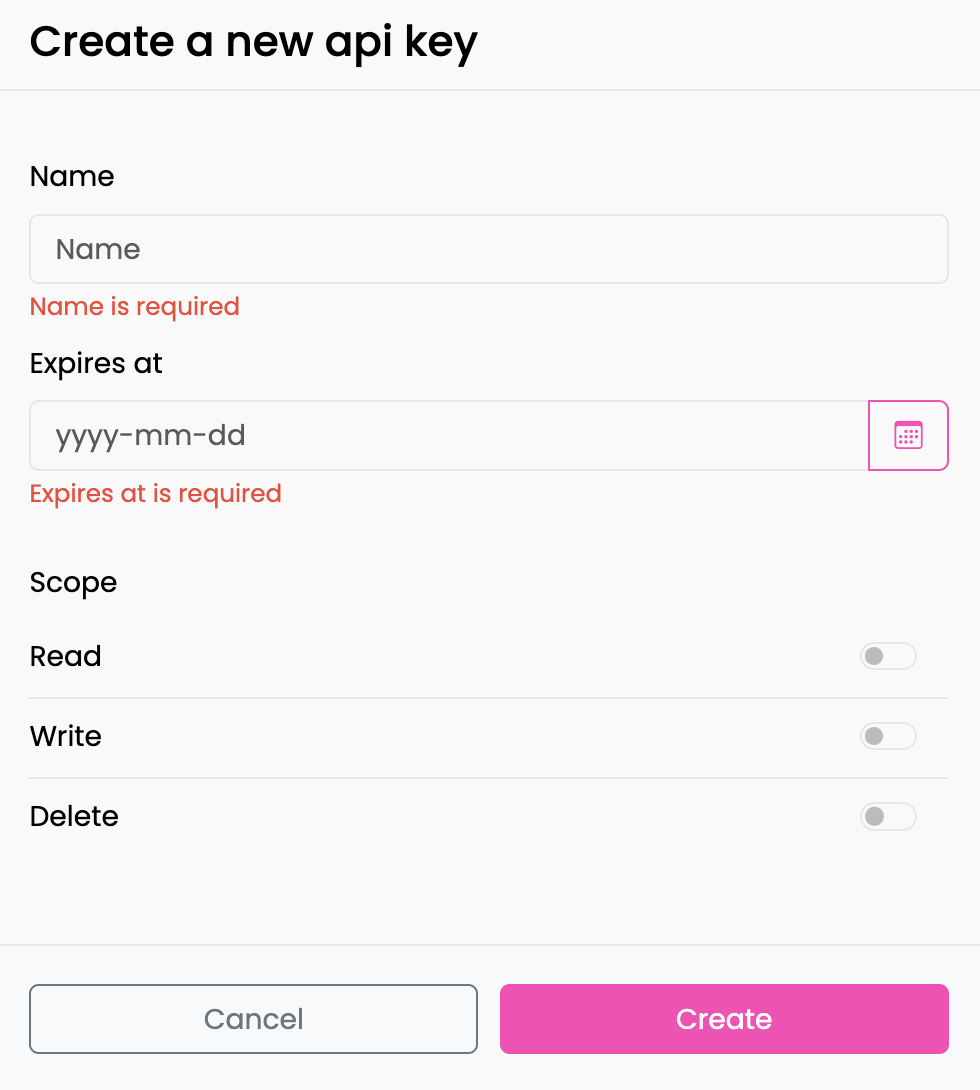
- Enter the expiration date for the API key. You can either type the date directly into the field or select it using the calendar tool
- Specify the permissions for the API key by selecting the appropriate scope:
- Read: Allows the API key to view or retrieve data
- Write: Grants the ability to modify or add data
- Delete: Permits the deletion of data
- Click Create to confirm the addition of the new API key. If you wish to cancel the operation, click Cancel to abort the process
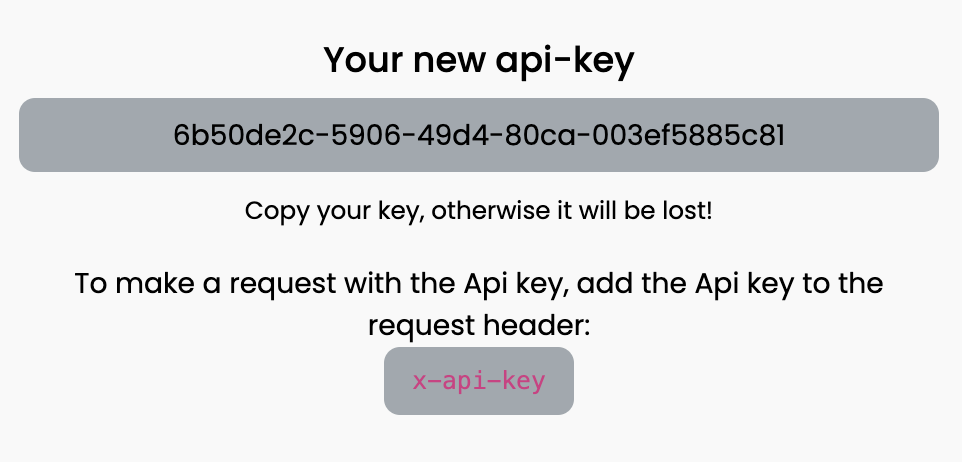
- To continue, make sure to copy your new API key now, as it will not be saved. To use the API key in a request, include it in the request header: x-api-key.
Information
In the table, you can view the following details for each API key:
- Name: The identifier of the API key.
- Scope: The permissions granted (read, write, delete).
- Date of Creation: When the API key was created.
- Expiration Date: When the API key will expire.
- Last Used: The most recent date the API key was used.
You can also sort the list by any of these columns to organise the information according to your preferences.