Knowledge
To upload documents to the bot, select Knowledge from the menu. This will direct you to the area where you can manage and organize your documents.
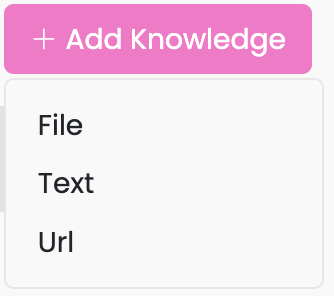
Click on the Add Knowledge button located in the upper-right corner. Choose the type of content you want to add from the drop-down list:
- File: Click on the file area and select a file from your device. Alternatively, drag and drop files into the designated area. The platform supports .pdf, .txt, .docx, .md file types.
- Text: Provide a title for the content you are about to add. This title will help identify and organize the content within the platform. Add content to the text field. You can edit the text and click Preview to review your changes. After adding and previewing the content, click Save to finalize and store your entry.
- URL: Provide a title for the content you are about to add. Copy a link of the website containing relevant information and paste it into the Website field.
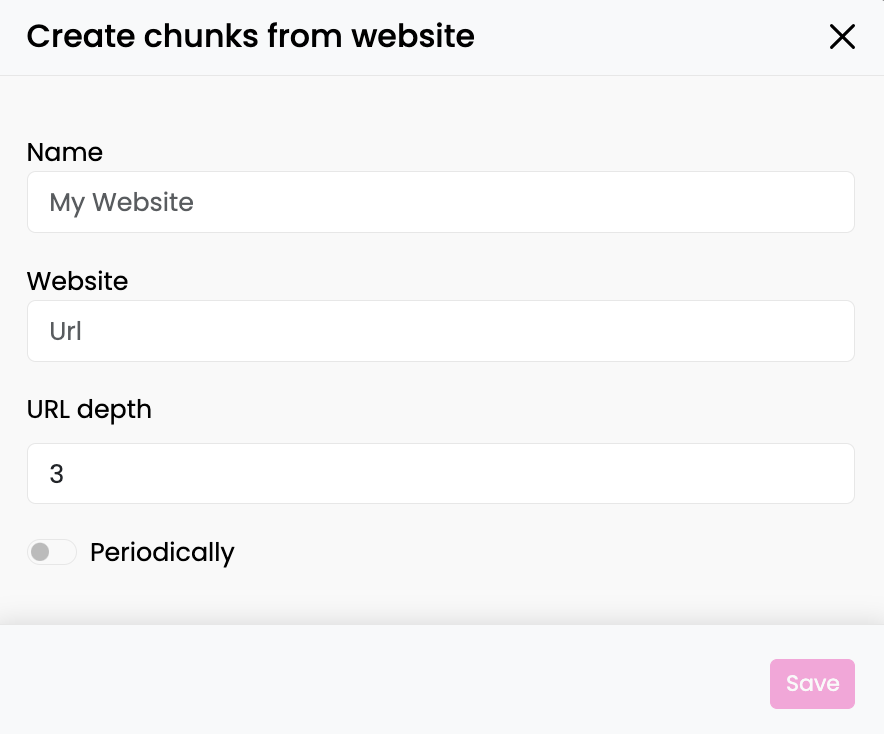
When adding a website link to the knowledge base, you can configure the scraping depth. The scraping depth refers to the number of levels or layers of pages within the website that will be crawled and indexed. For example, a scraping depth of 1 will only crawl the main page, while a depth of 2 will crawl the main page and any linked pages found on it, and so on. Additionally, you have the option to configure the scraping frequency by enabling the “Periodically” toggle. This allows you to set how often the website will be scraped. You can choose from the following options:
- Daily: Scraping occurs once every day.
- Weekly: Scraping occurs once every week.
- Monthly: Scraping occurs once every month. By customising both the scraping depth and frequency, you can control how much of the website is indexed and how frequently the data is updated.
After you added knowledge, an entry will appear in a list. Each entry has a name, type and state. If the upload is successful, the state will display as Created and be highlighted in green.
Managing entry
To view and manage entry details, click on the relevant entry from the list. Here you can:
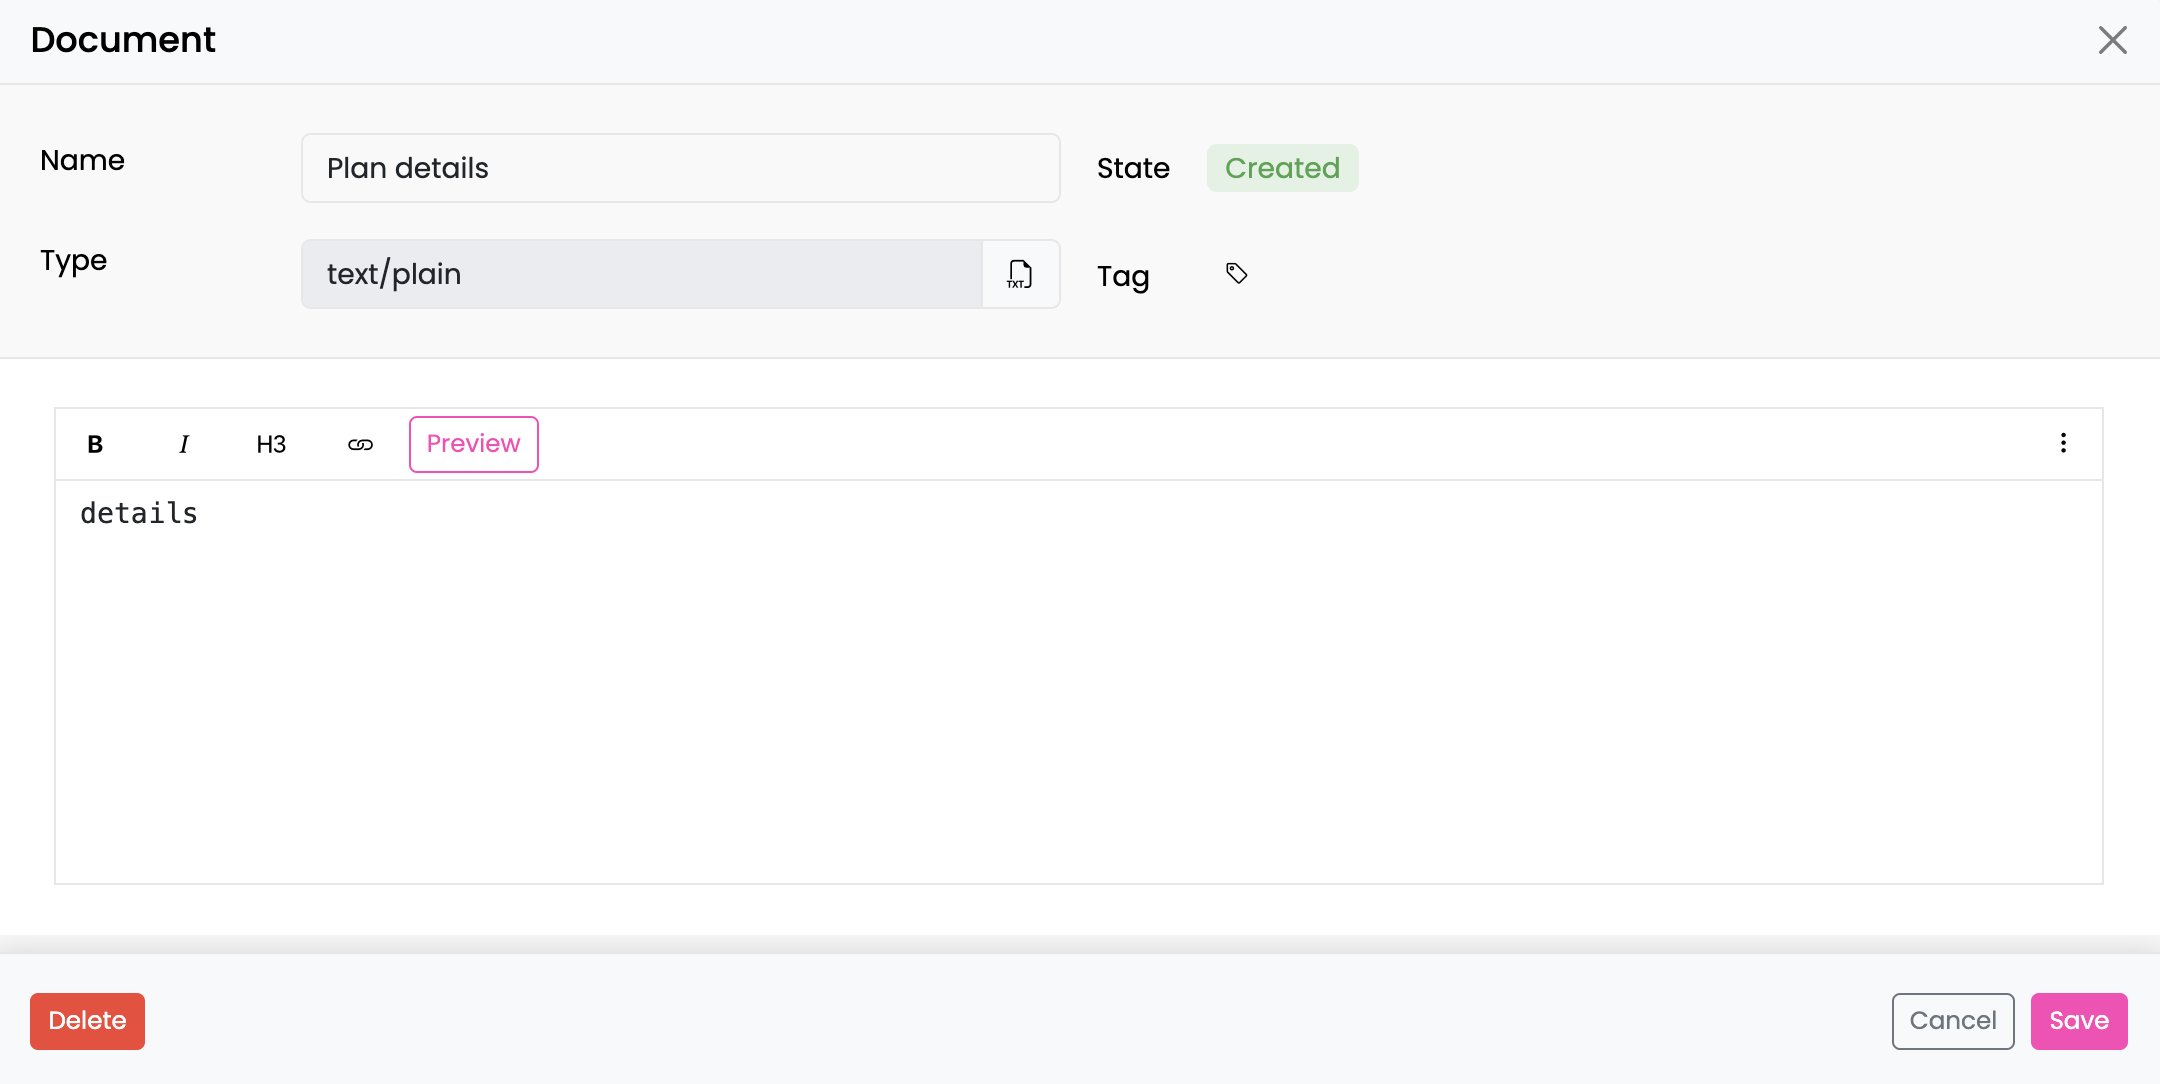
Rename added knowledge
You can modify the name of an existing knowledge entry to better reflect its content or purpose.
Add Tags
Apply tags if you want your bot to prioritise certain knowledge when answering specific questions. By tagging relevant entries, you ensure the bot focuses on particular information, improving the accuracy and relevance of its responses. This allows for more targeted answers based on the tagged knowledge.
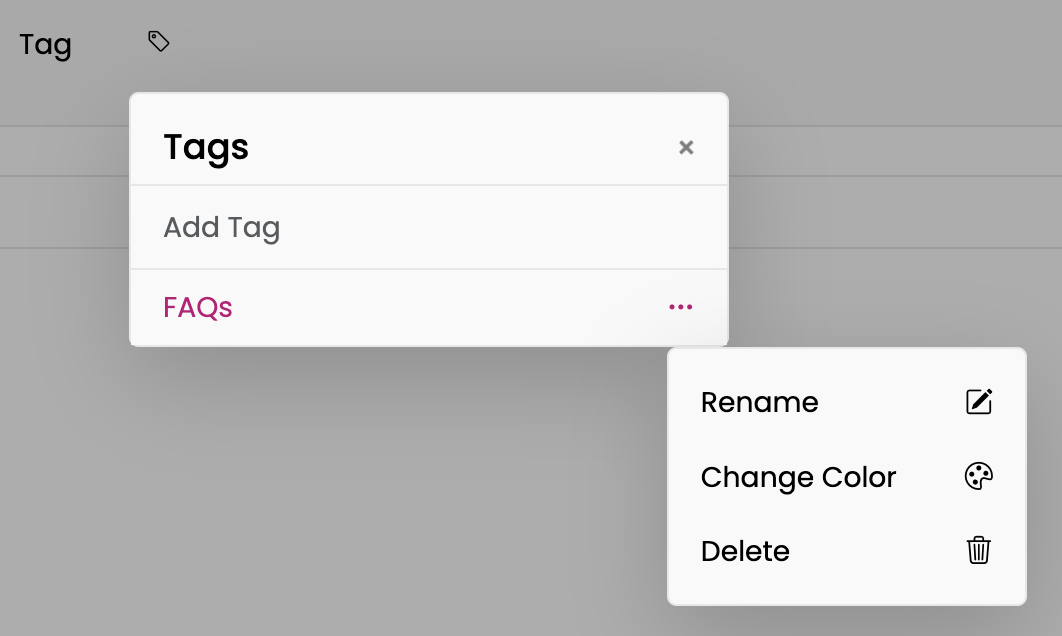
To tag knowledge:
- Click on the tag icon located to the right of the knowledge type.
- Enter the name of the tag and press Enter.
- Click the Save button in the lower-right corner to finalize the tagging process.
To untag knowledge:
- Click on the tag icon.
- Click on the X next to the tag name to remove the tag.
Edit Tags:
- Click on the tag icon.
- Click the three-dot menu next to an existing tag.
- You can rename, change the color, or delete the tag.
- Note: Tags can only be edited if they are not attached to any knowledge. You must first untag the knowledge entry before editing the tag.
(For more details on how to implement Tags, refer to the Flow section description.)
Manage chunks
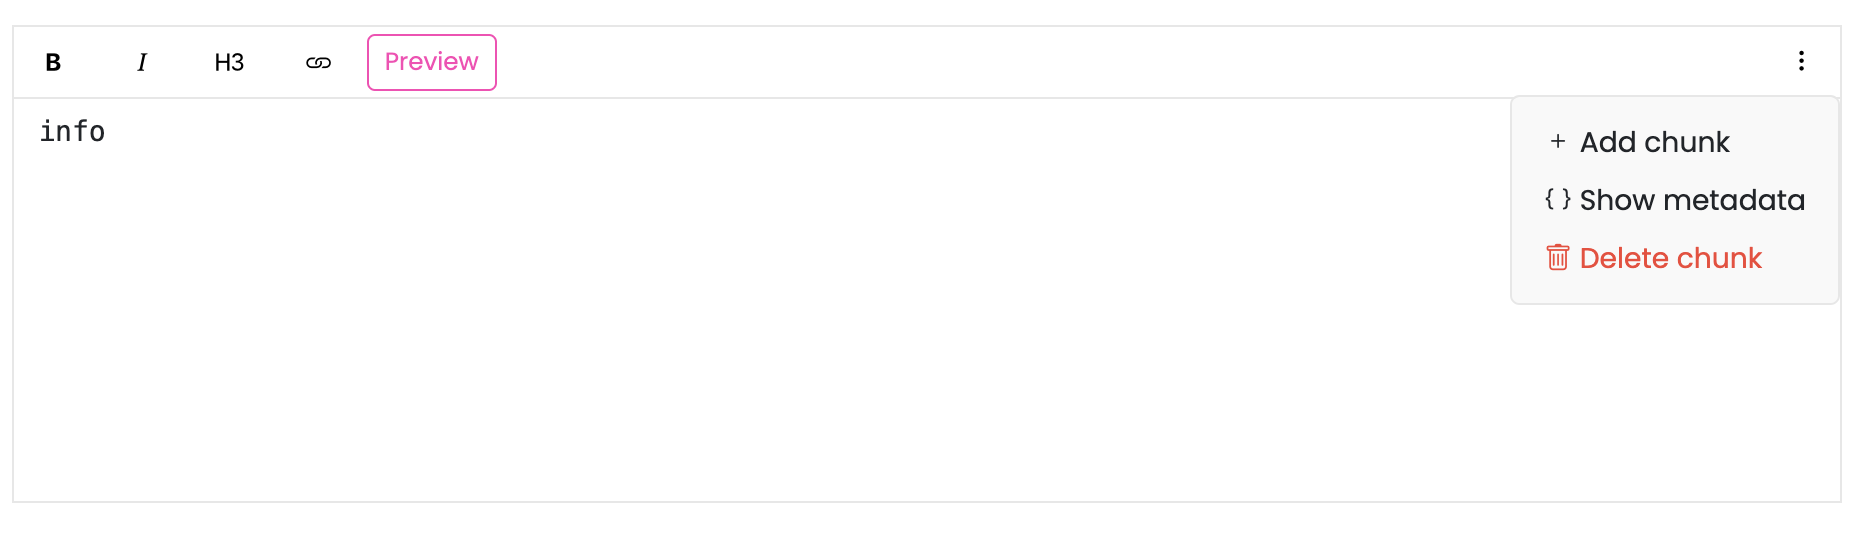
Chunks allow the system to break down large volumes of data into manageable, searchable parts to provide accurate and targeted answers more efficiently. You can view the chunks that the system has retrieved from uploaded knowledge.
-
Edit chunks: You have the ability to manually adjust the content of each chunk to ensure the information is accurate and relevant for the bot's responses. The quality of the content directly influences the quality of the bot's answers. Since the bot relies on the data it has been fed, well-structured, accurate, and relevant information will result in more precise and useful responses.
-
Add chunks: To add a new chunk manually, click on the menu button (three dots) in the upper-right corner of any chunk and select Add chunk from the drop-down menu.
-
Show metadata: To view metadata of the chunk, click on the menu button (three dots) in the upper-right corner of any chunk and select Show metadata from the drop-down menu.
You can manually edit the metadata to include details like language. Once added, this information can be used in processes like knowledge nodes. For example, you can filter results to only show information in English if the language has been specified in the metadata.
-
Delete chunks: To delete a chunk, click on the menu button (three dots) in the upper-right corner of a chunk and select Delete chunk from the drop-down menu.
Delete added knowledge
Click the Delete button in the lower-left corner to remove the selected knowledge from the list. A confirmation window will appear—confirm your action by selecting Ok to proceed with the deletion. This action will delete the added knowledge along with all its associated chunks.
Write Protection
You can mark a document as protected using the lock toggle in the document dialog. Protected documents:
- Display a green lock icon in the document list
- Are preserved (not overwritten) during bot imports
To toggle write protection, open a document and click the lock button next to the Write Protection label. A green lock indicates the document is protected.
Tip: Use write protection for manually curated knowledge or environment-specific documents that should not be overwritten when importing bot configurations.
Cancel
You can cancel any unsaved changes by clicking the Cancel button in the lower-right corner. Alternatively, you can close the Document window and confirm the prompt by selecting Yes to discard the changes.
Save changes
To save changes, press the Save button in the lower-right corner.